Repairing Vintage Hi-Fi Page 2
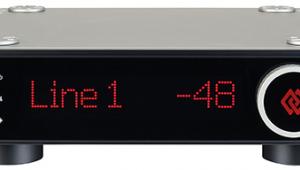
For tuners with digital displays, tune to a strong local station whose frequency is known to you then set the tuning so the display is correct (even if the sound is then distorted or absent). If possible with the model in hand, next select mono reception and adjust the discriminator coil gently and carefully for the best reception. Half a turn in one direction or the other is normally all that is required. Try some other stations and confirm that they appear at the correct frequency.
When it comes to mechanically tuned models the process is different. Tune to a local station again and turn on the set's AFC (automatic frequency control) function. Adjust the discriminator for the best sound quality as above, or if the tuner has a balance meter adjust to centre the needle. That is normally all that is required.
If the stereo decoder still doesn't work and it's a PLL (Phase Locked Loop) type, the 19kHz oscillator may be out of adjustment. This is normally a preset resistor near the chip (PLL types are invariably IC based) and slight adjustment may be required. Never touch the 'separation' adjustment as an FM stereo signal generator is required to set that up that correctly.
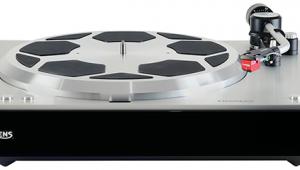
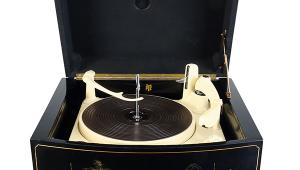
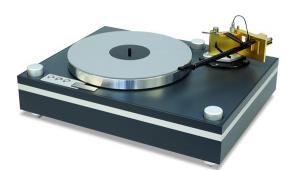
Turntable Troubles
From an electrical point of view, the majority of turntables are simply a motor in a box, faults usually being of a mechanical nature and obvious. Faults in automatic mechanisms are almost always due to hardened lubricants and corrosion, especially where dissimilar metals are in contact. For example, a die-cast alloy lever running on a steel spindle is a typical trouble spot. Indeed, anything that doesn't move without resistance is suspect.
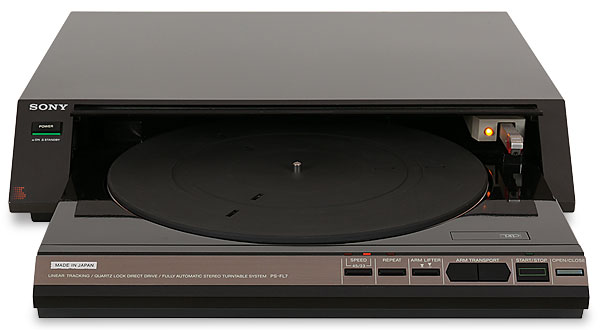
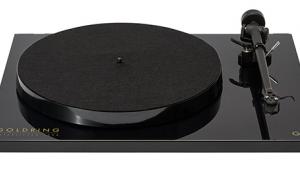
Direct-drive turntables contain electronic servo systems which can cause problems. If the motor lacks power, won't start unaided or sometimes runs in the wrong direction then it is likely that one of the sets of coils in the motor isn't being driven (there are normally two or three, depending on the design).
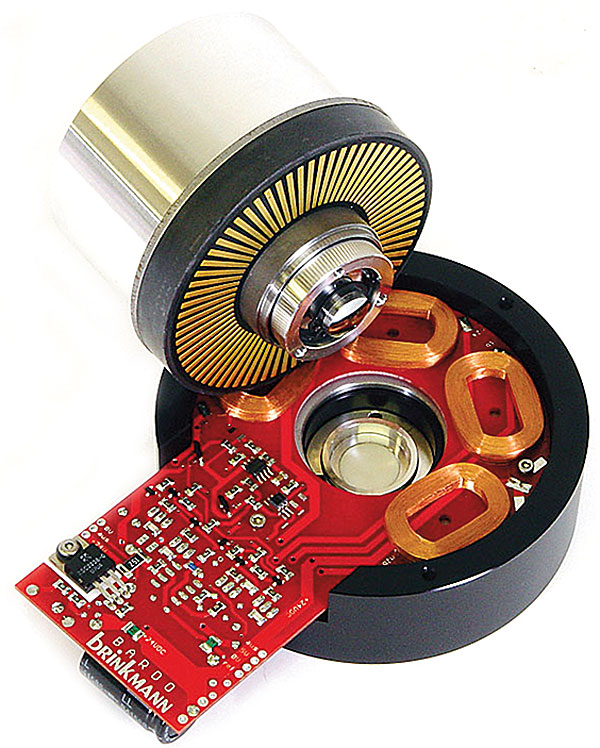
The driver transistors for the coils and the hall sensors in the motor are the most likely suspects when this happens. The approach here is to compare measurements taken with the working part of the motor because this should quickly reveal what is amiss.
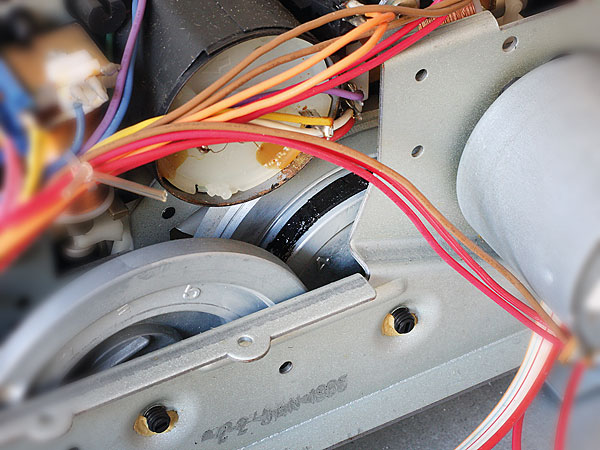
Linear tracking adds another level of complexity to a turntable, but on the whole these systems have proved reliable over time. The most troublesome component is the little belt which links the motor to the rest of the mechanism. Its tension is critical. If it's too loose it will slip, while if it's too tight the deck's tracking servo won't work properly.
Cassette Decks
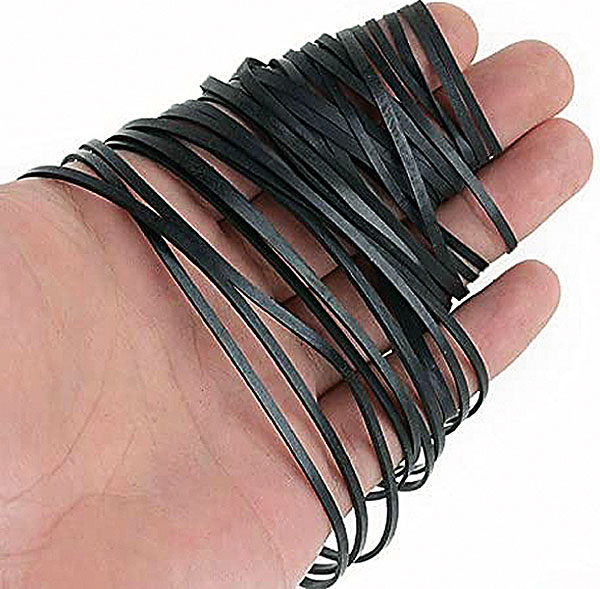
Most cassette deck repairs involve belts so try to get a set on hand before starting work. Often the belts will have dissolved into a sticky goo which is time-consuming and messy to remove, but methylated spirits or isopropyl alcohol on a rag will help.
The most common electronic problem is that one or other channel overloads on playback with a loud hum through the speakers, often after a recording is attempted. This is normally due to dirty contacts in the record/replay switch and a dose of contact cleaner often cures it. Some decks have a relay to switch the head connections between record and playback and a similar thing can happen if this is faulty.
To give good performance and interchangeability a cassette deck has to be in a good state of adjustment. The principle is to set up the playback conditions first, then the recording side of things. Adjustments are always made with any noise reduction systems switched off. Use a speed adjustment tape (normally 315Hz, 333Hz or 1kHz) and a frequency counter to set the speed correctly, then an azimuth reference tape to set the head at an exact right angle to the tape edge.
Most decks have a Dolby symbol on their VU meters somewhere (normally just inside the red section). Play a Dolby level test tape and adjust the deck's playback level controls so that the meters point exactly to this mark. Assuming that the mechanics and the head aren't dirty or worn the deck will now play a 'standard' recording correctly.
Next, record alternately a 1kHz and a 10kHz tone at around –20VU on the meters onto a quality tape. Using either an oscilloscope or an AC RMS voltmeter connected to the deck's outputs, adjust the recording bias so that both these tones are at the same level on playback – it may take a few attempts to get this right. Less bias will yield a treble lift but will also increase distortion. If the left and right settings end up being radically different, it is probable that the machine's head is worn out.
Once that is done, record a 1kHz tone at 0VU on the meters and play it back. Adjust the record current controls until the recording plays back at 0VU. Although not as exact a calibration as might be achieved at the factory, this procedure will give results which will be more than good enough for domestic use if the rest of the machine is in good condition.
Compact Disc
In general, CD players are too complex for the beginner and bring the risk of permanent sight damage due to laser exposure. However, lazy tray action due to worn loading belts can be an easy fix, depending on how accessible the belt is. With some players it just drops in on the top, though for others virtually the whole machine needs to come apart.
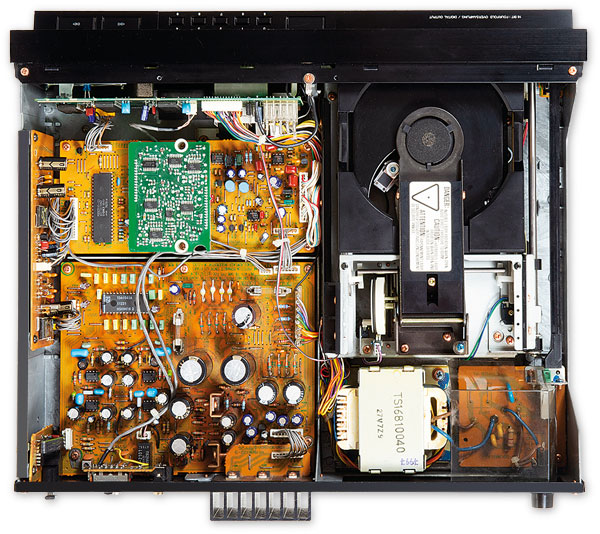
Loss of the track display can be due to something as simple as the bulb behind an LCD panel failing. For more complex faults, a check on the various switches around the deck and on the presence of the correct voltage on the various supply lines often bears fruit. Not all CD player faults involve unobtainable lasers and intricate digital electronics.
|
| |||||||||


| Equipment Reviews | Music Reviews Awards | Latest News Features | Resources Newsletters | Subscriptions |
WHERE TECHNOLOGY BECOMES ENTERTAINMENT
 © 2026 Hi-Fi News
AVTech Media Ltd
All rights reserved